In this article I will explain you how to get started using Your InvoicePlane & WooCommerce Integration.
First we’ll see how to configure InvoicePlane and after how to configure your WordPress website.
InvoicePlane Configuration
- Append the follow line of code to the last line of your InvoicePlane installation inside the file “/application/config/config.php”:
$config['csrf_exclude_uris'] = array('webservice'); - Download the webservice module for InvoicePlane from here.
- Extract the downloaded ZIP file (webservice.zip) and copy the folder “webservice” to your InvoicePlane inside the folder “/application/modules”
WordPress Configuration
After InvoicePlane configuration is finished you can proceed to configure WordPress:
- In your WordPress website install the free version of the plugin from here.
- If you have also the Pro version, download it from your My Account Area and install it in your WordPress website.
- From your administration dashboard click on “YourPlugins > InvoicePlane Settings”:
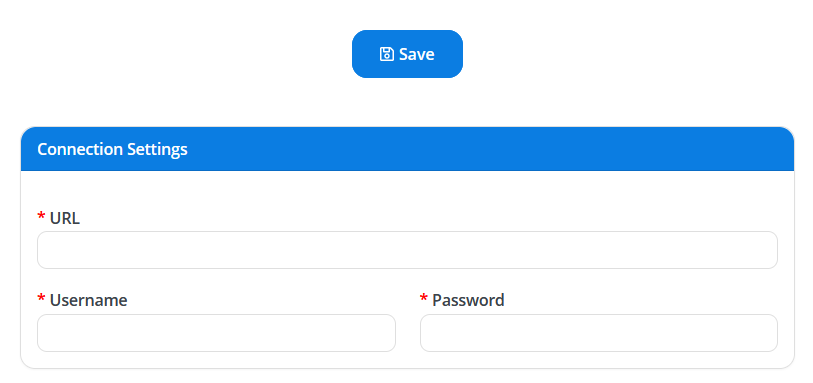
Where:
- URL: This is your InvoicePlane URL (Example: htts://yourinvoiceplane.ext). Please don’t use ending slashes (/) after the URL.
- Username: Your InvoicePlane username
- Password: Your InvoicePlane password
Click on Save and if everything is ok you will see a confirmation message and new options are shown.
Here are the new available options:
- Payment Method Mapping: You can map the WooCommerce payment methods with your InvoicePlane payment methods.
- Invoice Settings [InvoicePlane Group]: The InvoicePlane numeration sequence for invoices
- Invoice Settings [Send invoice to InvoicePlane]: If yes when a new order is completed on WooCommerce the invoice is generated in InvoicePlane
- Invoice Settings [Attach PDF Invoice on order completed]: Attach the PDF invoice to the WooCommerce order completed email
- Invoice Settings [Invoice Filename Prefix]: The prefix of the attached PDF for invoice
- Client Settings [Post Meta VAT ID]: The name of the WooCommerce custom field for VAT (Example: _billing_vat)
- Client Settings [Post Meta Tax Code]: The name of the WooCommerce custom field for Tax Code (Example: _billing_tax_code)
- Quote Settings [InvoicePlane Group]: The InvoicePlane numeration sequence for quotes
- Quote Settings [Send quote to InvoicePlane]: If yes when a new order is created on WooCommerce the quote is generated in InvoicePlane.
- Quote Settings [Attach PDF Quote on new order]: Attach the PDF quote to the WooCommerce new order email
- Quote Settings [Quote Filename Prefix]: The prefix of the attached PDF for quote
Click on “Save” again.
Customer Match
When a new order is sent to InvoicePlane, it is checked if the customer exists or not. The fields used for the match are: First Name, Last Name, Address 1, Address 2, City, State, ZIP code, Country.
If no records have been found with this info, a new customer will be created.